By IMAGE
16th Dec 2014
16th Dec 2014
Contouring: for something so theoretically simple, it sure causes plenty of confusion and mistakes.? After a lot of trial and error, we like to think we’ve got it nailed, so we’re sharing our favourite face-sculpting tools, tips and techniques.
1. Keep it simple: you don’t need a million products and tools to get the look. The idea is to bring subtle dimension to the face and create natural looking shadows and highlights – think less Kim Kardashian, and more Nigella’s Court Face.

2. Choose your weapons: decide whether you’re most comfortable using powders or creams, and don’t mix your textures. For our money, the best cream product is Tom Ford’s Shade and Illuminate, with Charlotte Tilbury’s Filmstar Bronze & Glow being the best powders. They each contain a highlight and a contour shade, in one handy palette.

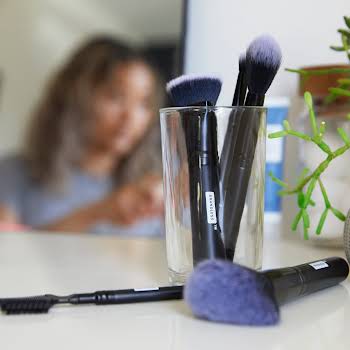
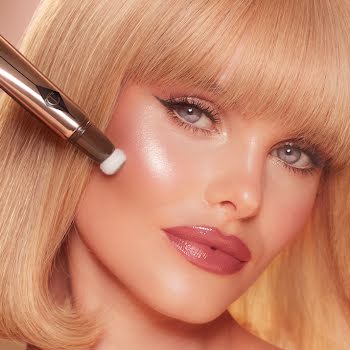
3. Picked powder? Don’t apply over damp foundation – set your base before you start. Then choose a small, tapered brush (we love Wayne Goss #2 or The Wendy from NIMA), tap off the excess and dust on your contour colour?with small, circular motions instead of swipes. Place the highlight shade on the highest part of your cheekbones, to catch the light.

4. The best tools for cream products? Your fingers – the heat from your skin will help melt the product into your skin.
5. Make it personal: Everyone’s face shape is different and, as contouring is all about facial proportions, it’s important you get to know yours. Use your fingers to feel under your cheekbones – that hollow is where your contour should be applied. Don’t bring the colour too far across your face; aim to stop in line with the middle of your eye. You’re creating your own facial framework, so what looks good on someone else won’t necessarily look the same on you.
Emma Henderson @fluffyblog


