By Megan Burns
15th Jun 2021
15th Jun 2021
A great way to rejuvenate an old piece of furniture, upholstery is something that can be worth tackling yourself. Lynn Haughton from The Upcycle Movement gives us her top tips for first-timers.
A good piece of furniture should be an investment, and you don’t want to simply throw it away after a couple of years. You might also pick up a bargain at a second-hand or antique store, and want to modernise it a little.
Shabby, worn, or simply dated fabric doesn’t have to mean a piece isn’t for you though – reupholstery will usually transform it beyond recognition. What’s more, simpler furniture items are actually very achievable to re-cover yourself, making the process cost-efficient.
Lynn Haughton, founder and designer at The Upcycle Movement knows better than most how to upcycle pieces to create something new, so we decided to pick her brain on what you need to know before you tackle an upholstery project, as well as her helpful hints.
What kind of pieces are best for a first-time upholsterer?
It is easiest to stick to anything with straight edges, rather than curves, until you are comfortable enough with the tools and fabric to try a pleat or more challenging piece. Dining chair seats, square or rectangular footstools and ottomans are straightforward enough to get started with.
Regarding fabric – start with something relatively plain, as it is more forgiving if you go a little wonky. Anything with pattern and or stripes can be a bit trickier, and more obvious if you’re off slightly.
Which pieces are best to avoid, or leave to a professional?
Anything with curves or a lot of sections and details like buttoning, studs or wings I would recommend leaving to a professional. Also anything that is an antique or very old may require more structural or internal attention, which would require professional assistance.

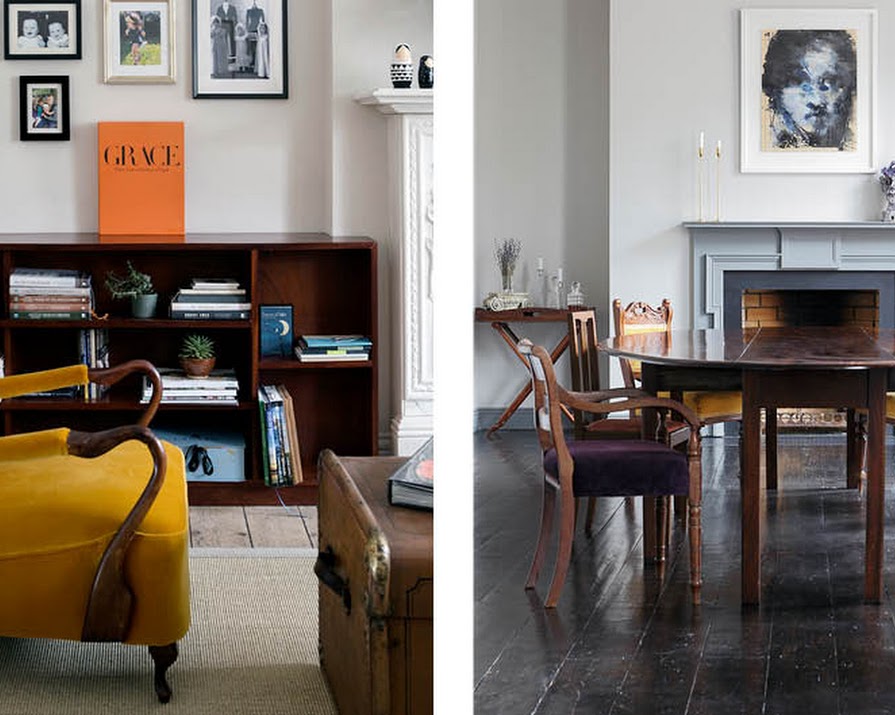
Photo via Barbara Egan of Reportage
What will you need before you get started?
Before you get started, set yourself up with plenty of space and light. Outdoors is ideal if you can, as removing old fabric, internal foam and wadding can be dusty work, depending on the condition of it. It is an idea to wear a dust mask if you feel you need one.
Next, take a before photo from all angles, especially from underneath, and note any assembly details. This will be a good reference for how it goes back together and is also nice to have a before and after shot so you can be proud of your transformation!
Make sure you have the tools required for the job. Generally, a good strong staple gun is the main item you will need for a simple job like a dining chair seat. However, in order to get the seat on and off, you will require a screwdriver. You will also need enough fabric and a scissors. Make sure your staples are the right size for the job and not too long as they will pierce through the other side.
Double-check you have enough fabric before you start. Generally allow for at least three inches extra around any edges – this gives you enough to play around with and fold in order to have a neat finish.
What padding and fabric should you use, and is there any fabric you shouldn’t use?
You can get batting in any good fabric shop. If you require foam or more internal padding then these can be purchased in an upholstery store where they can give you some help on what’s required. Mattress recycling centres often have perfectly good foam and is an option if you’d like to source something more environmental and on a budget – it’s a great way to reuse it.
Regarding fabric, stick to upholstery fabric or fabric of upholstery weight. Don’t use anything too light as it won’t stand up to the wear and tear, and avoid anything with stripes as they can be trickier to keep in line if it is your first time. If it is a small job like dining chairs then using offcuts could be an option and most fabric shops have a bargain offcut or end of line selection to rummage through.

Photo: Katarzyna Grabowska via Unsplash
Could you talk us through the basics of reupholstering a dining seat cover?
On a clean surface, place the fabric, front side down. Place the seat cover in the centre of the fabric. Don’t forget to leave about 3 inches of fabric extending beyond the seat on all sides. This gives you room to stretch and fold the fabric to neaten on the underside. Don’t extend much more than this as it will cause bunching and make it too thick to re-position back onto the seat.
A tip is to anchor the fabric in place with four staples: one at each centre point of the top, right side, bottom and left side of the seat. I like to fold the edges to keep a neat finish. Using the palm of your hand, pull and smooth the fabric as you apply each staple to ensure that the fabric is fitting nicely against the seat. But don’t pull it too much as it can distort the padding and cause bumps.
Another important tip is to keep checking how it looks on the front side of the seat. Staples can easily be removed and redone – so don’t be afraid to try, and amend as you go. For simple corners, run both hands along the edges leading to a corner and bring the fabric together at the corner. Hold the material in one hand while you put staples on either side of the corner with the other – creating a flap.
Next, smooth this centrefold on the flap down with your hand and staple two staples to secure it. Once secured, apply more staples where needed to ensure that the fabric is lying perfectly flat. Take the same steps on each corner. Then work your way around the edges, applying staples to secure the fabric the whole way around while continually checking how it looks on the front side of the seat before and after firing a staple.
Tip: If you are nervous about starting on the real thing – practice on a scrap piece of wood with some extra batting and fabric.
Featured image: Ruth Maria Murphy.


