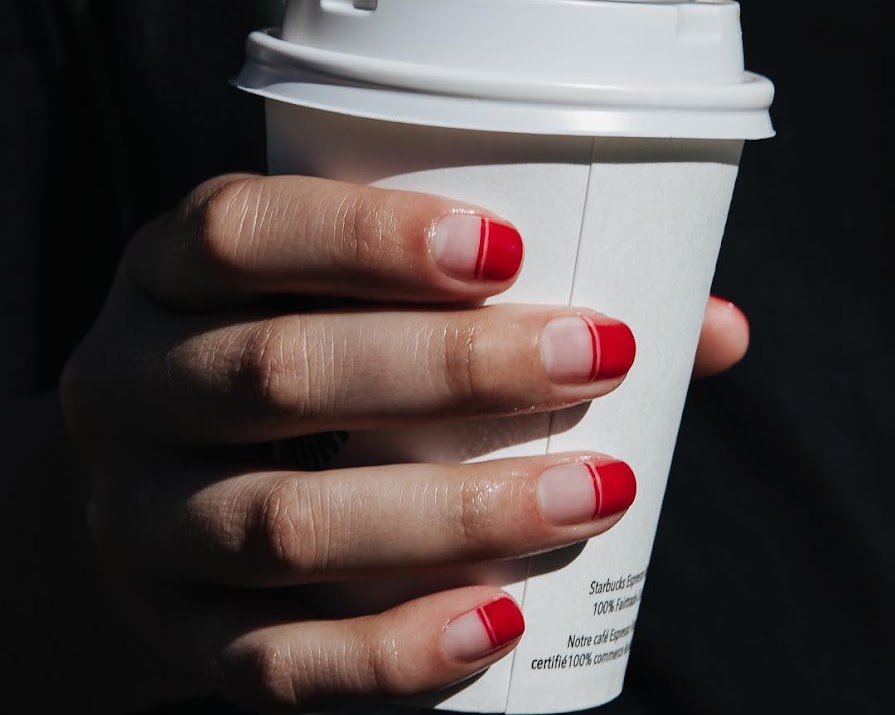
Trying to cut back on that shellac habit? Here’s how to do the perfect at home manicure
By Hannah Hillyer
16th Feb 2019
16th Feb 2019
Everyone has a beauty treatment that’s their ‘thing’. For some it’s spray tans, others are slaves to eyelash extensions, but for many, it’s a once or twice a month shellac habit. There is nothing nicer than having someone else file, buff and sort out your cuticles for you, plus, having groomed, chip-free nails for weeks on end is a beautiful thing. The thing is, this habit can start adding up, and if your New Year’s Resolution was to save more, it’s one of the most obvious things to cut out.
We’re going to help you kick the habit with our guide to doing your own at-home manicure. Some people find painting their nails a bit of a chore, but I find it quite cathartic. Being forced to sit and do nothing for fear of smudging your nails means properly relaxing for at least half an hour. I like to get everything set up near the sofa (make myself a cup of tea) and have a crime documentary ready to go on Netflix.
What kit do you need?
- Base coat (optional)
- Top Coat
- Polish of choice
- Cuticle trimmers
- Cuticle pusher
- Hand Cream or cuticle oil
- Nail polish remover
- Cotton pads
- Cotton buds- the best for this are the pointy ones from Muji
- Nail file
Read More: Five ways to improve the quality of your nails, according to the experts
Step 1: Remove old polish and clean nails
Seems like an obvious step but to get longevity out of your polish, you need to make sure it’s going onto clean, prepped nails. Even if you’re not wearing any nail polish, it’s worth sweeping a little remover over the nail to start.
Step 2: Cuticle work
 Tweezerman Stainless Steel Cuticle Nipper; €32.99 at boots.ie
 Boots Cuticle Pusher; €2.59 at boots.ie
This is the worst, most tedious part, but if you give this some time it will make them look tidier. Best done after a bath or a hot shower as your cuticles will be soft. Push them back gently towards the nail bed, and using small scissors, trim any excess. The more frequently you do this, the less work it will be!
Step 3: Base Coat
 Sally Hansen Diamond Strength Instant Nail Hardener; €9.99 at boots.ie
Some say this is essential, some don’t bother. Personally, I find this good if you are using a particularly pigmented colour, like red or oxblood, as it prevents it from staining your nails. If you have weak nails that are prone to breaking, investing in a base coat enriched with vitamins is a good step towards strengthening your nails.
Step 4: Your Polish
 Essie 64 Fifth Avenue Bright Red Nail Polish; €9.99 at boots.ie
Now the fun part- choose your colour! Personal favourites of mine are Essie and Mavala as they do such a great selection of shades and I find their formulas to be long-lasting. Apply 2 or 3 very thin coats of polish. It may seem like the quickest route to go for 1 or 2 thicker coats but this actually takes longer to dry, so smudging is inevitable. Take your time with this and leave at least five minutes in between coats (this is when it’s good to have that Netflix documentary ready to go).
Read More: Nails constantly breaking? Ireland’s top manicurist has the solution
Step 5: Top Coat
 Seche Vite Dry Fast top coat; €12.99 at boots.ie
You can get creative here and use a glittery one or a matte top coat. Personally, I like something super glossy as it gives the nails a great polished finish. This is always where I get impatient and want to get up and do things, but don’t smudge on the last step! Ideally, get a quick drying top coat for less risk of smudging.
Step 6: To Finish
 No7 Cuticle Oil; €10.50 at boots.ie
Once you’re done (and everything is 100% dry) make sure you finish off your manicure with some cuticle or hand cream. As you’ve pushed back and trimmed your cuticles it’s important to show them some love and moisturise afterwards to keep them looking healthy.
Header Image: @drybylondon


